Ever wondered how to debug your Xamarin Android applications on an Android device from Visual Studio; say example a Nexus 7 device? Well, if you have then read on!
The Problem
Let’s start this scenario by creating a new Xamarin.Forms application in Visual Studio 2013.
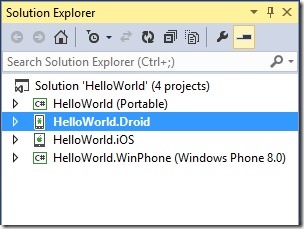
After the application is created, go ahead and set the Android project as the default project in the solution explorer.
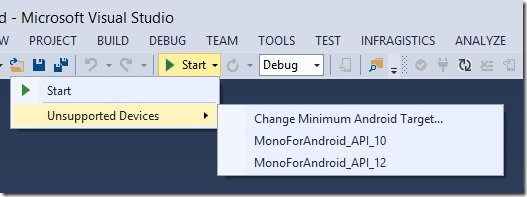
Now, let’s just go right ahead and try to debug our Android app using the Visual Studio debugger.
As you can see, we only have an option for the crappy built-in Android emulators. Not what I want to use to debug. I would rather use a real device, so I can see the application working on a real device. I just so happen to have a Nexus 7 that I would like to use. So my first step was to plug my Nexus 7 into my computer using a USB cable, but unfortunately that doesn’t seem to work. I need to do more. A lot more.
Prepare the Nexus 7 Device
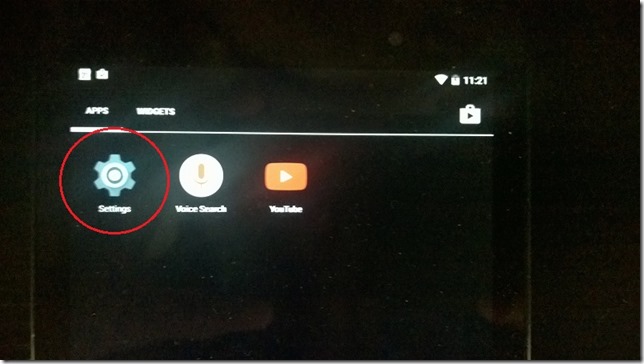
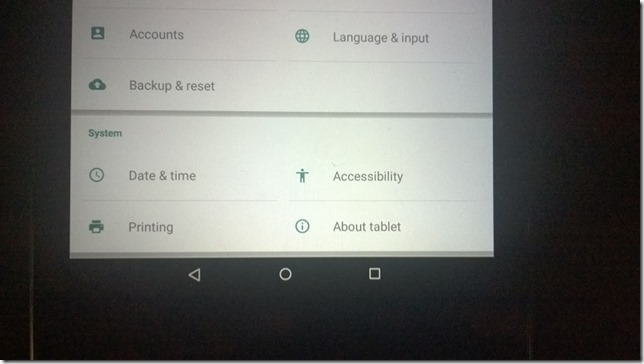
The first step we need to do is prepare our Nexus 7 device so that we can use it as a debugging target. Start by going to your Nexus 7 “”Settings”.
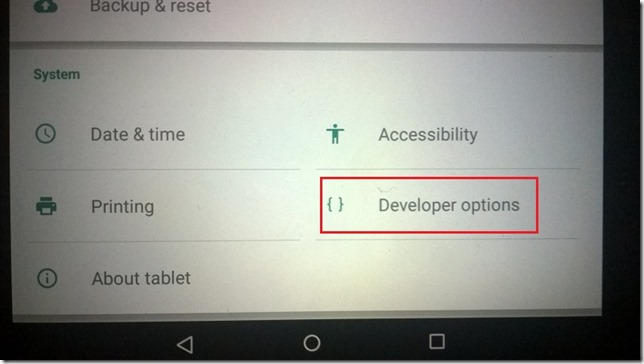
Next scroll down until you see “Developer Options”.
No Developer Options?
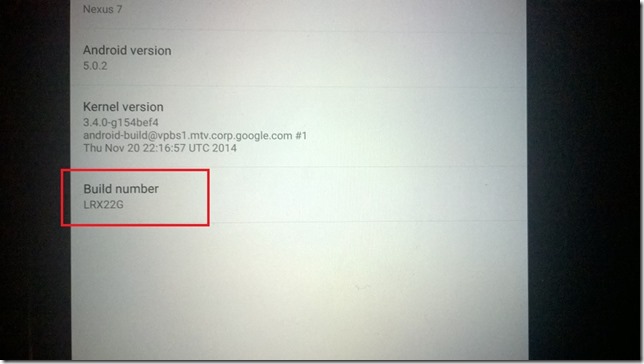
If you don’t have the Developer Options item available (like in the screenshot below), that means your device is not set up to be a developer device. Luckily, that’s an easy (yet very hidden) thing to enable. All you have to do is go into the About Tablet and find the Build Number.
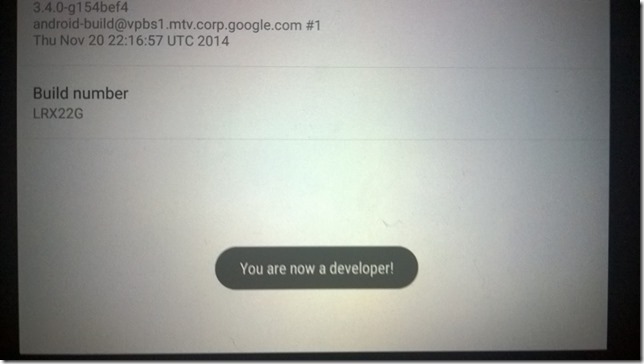
Once you have found the Build Number, simply tap on it 7 times. Yes… that’s right, just tap on that baby about 7 times.
AND VIOLA! You are now a developer. Now, go back and you will have the Developer Options available.
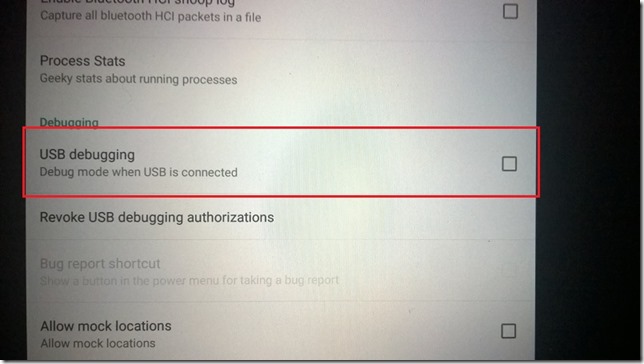
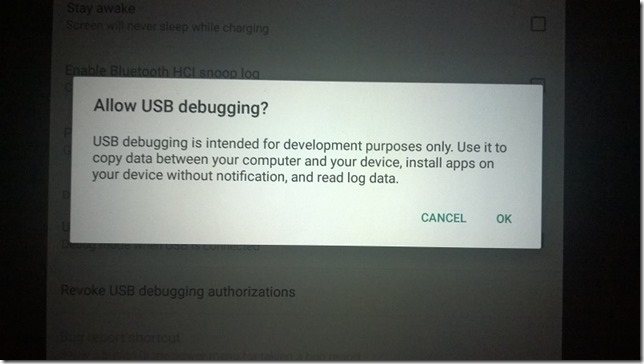
You will see an option called “USB Debugging” that is unchecked. CHECK IT! You’re going to get the following prompt.
You’re most likely going to say OK, since you want to debug on this device. But, I guess you can always change your mind last minute.
Setup Windows
Now that the Nexus 7 has been setup to allow USB debugging, we need to get our Windows machine setup to that it will support USB debugging to the Nexus 7 device. First, you need to download the Google USB Driver for Windows.
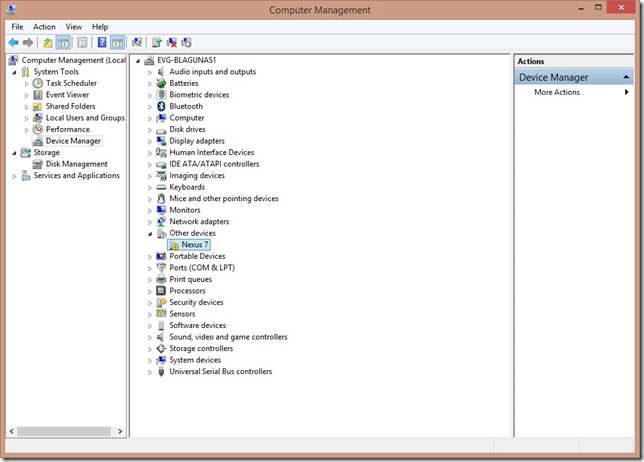
The easiest way is to click the big blue button on the right of the screen. Download the driver, save it to your computer somewhere, and unzip it. Once you have downloaded the driver, we need to install it. Right-click “This PC” and select “Manage” to open up the Computer Management console. Go to the “Device Manager” and find the Nexus 7 device. Notice the yellow warning sign icon? Yeah, we’ll be fixing that.
Right-click the Nexus 7 device and select “Update Driver Software”.
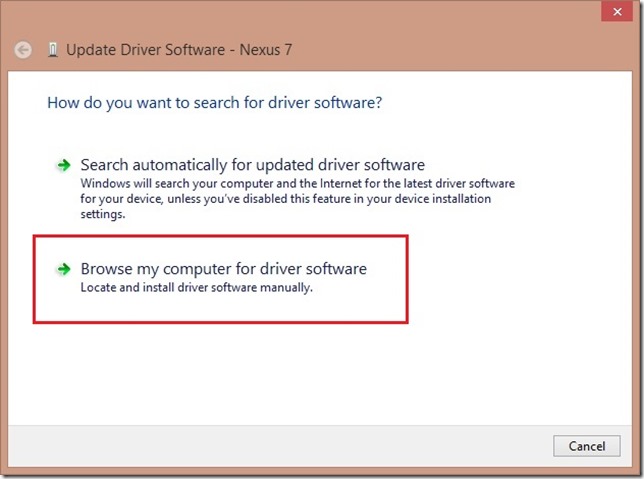
When you get the update prompt, make sure you choose the “Browse my computer for driver software” option. This will take you to another prompt that will ask you where to find the drivers.
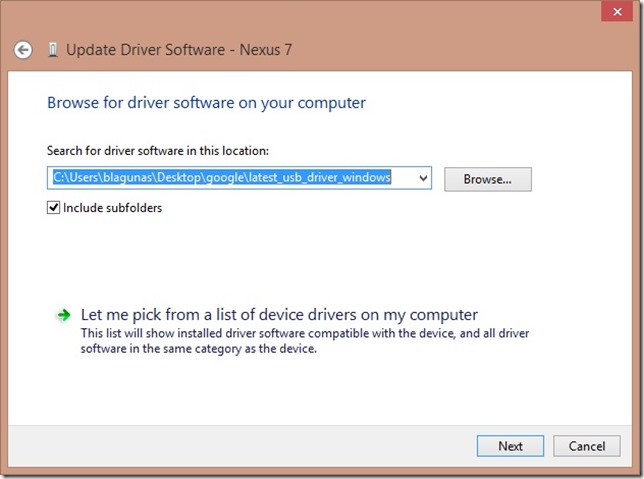
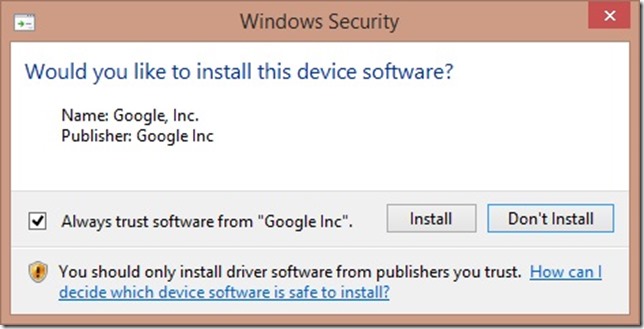
Browse to the location where you saved and unzipped your Google USB Drivers. Then hit next. You will be prompted again just to make sure you want to install this driver software.
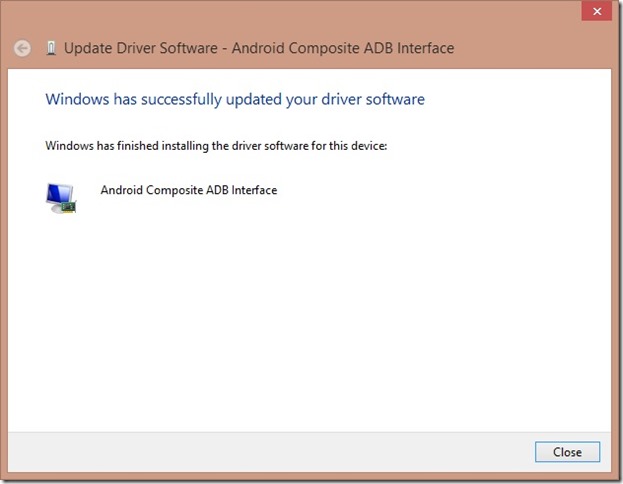
Click install, and wait. When the installation has finished, you will see the following prompt.
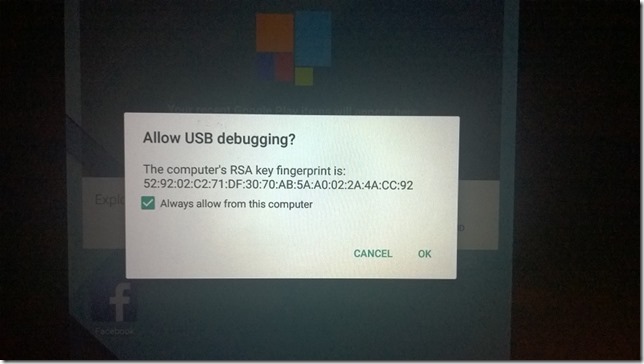
Now that your Google USB Drivers are installed. Look back at your Nexus 7 device. You are being prompted to allow your computer to debug to your Nexus 7 device through USB. Of course you want to accept this by hitting the OK button.
Debug in Visual Studio
Go back into Visual Studio 2013 and take another look at your debugging options.
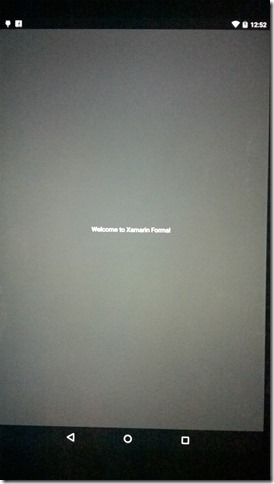
That’s right, your Nexus 7 is now listed as a device that you can deploy and debug your Xamarin Forms Android application. Click the “Google Nexus 7” debug button, or press F5, and take a look at your device.
You know what that is? Oh yeah you do! That’s success!
I hope you find this post useful, and as always, feel free contact me on my blog, connect with me on Twitter (@brianlagunas), or leave a comment below for any questions or comments you may have.






Brilliant – just what I was looking for.
Works well. Give yourself a cookie.
nom nom nom 🙂