
In case you missed it, Infragistics has recently released their newest product called Infragistics Ultimate UI for Uno Platform. You can now take advantage of these blazing fast, feature rich, and easy to use UI controls in your cross-platform Uno Platform applications and then deploy them to Windows, iOS, Mac, Android, Linux, and even run them in the browser with WebAssembly. All from a single code base.
The Infragistics Ultimate UI for Uno Platform contain the following controls:
- Uno Data Grid
- Uno Bullet Graph
- Uno Linear Gauge
- Uno Radial Gauge
- Uno Data Chart – with over 60 chart types
- Uno Category Chart
- Uno Pie Chart
- Uno Doughnut Chart
- Uno Sparkline
As of today, the Infragistics Ultimate UI for Uno Platform is in a preview and is available to everyone via NuGet. Let’s see just how easy it is to get started using this brand-new set of controls in our Uno Platform Applications.
Step 1 – Install Uno Platform
The first thing we need to do is install Uno Platform. This can be done by installing the Uno Platform Solution Templates extension into Visual Studio.
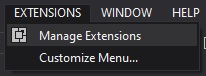
1 – Start Visual Studio 2019 then navigate to the Extensions -> Manage Extensions menu.
2 – When the Manage Extensions Dialog opens, search online for the “Uno Platform Solution Templates” and click install.
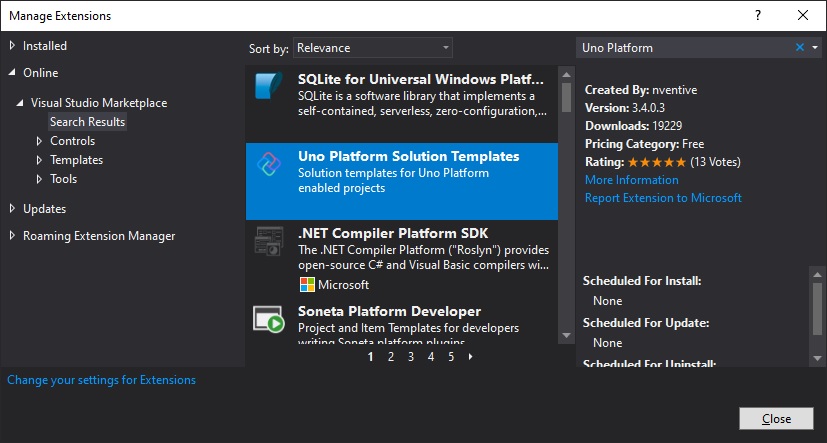
Once the Uno Platform Solution Templates have been installed, you will need to restart Visual Studio for the installation to be completed.
Step 2 – Create a new Uno Platform Project
Now that we have installed Uno Platform, let’s create a new Uno Platform project.
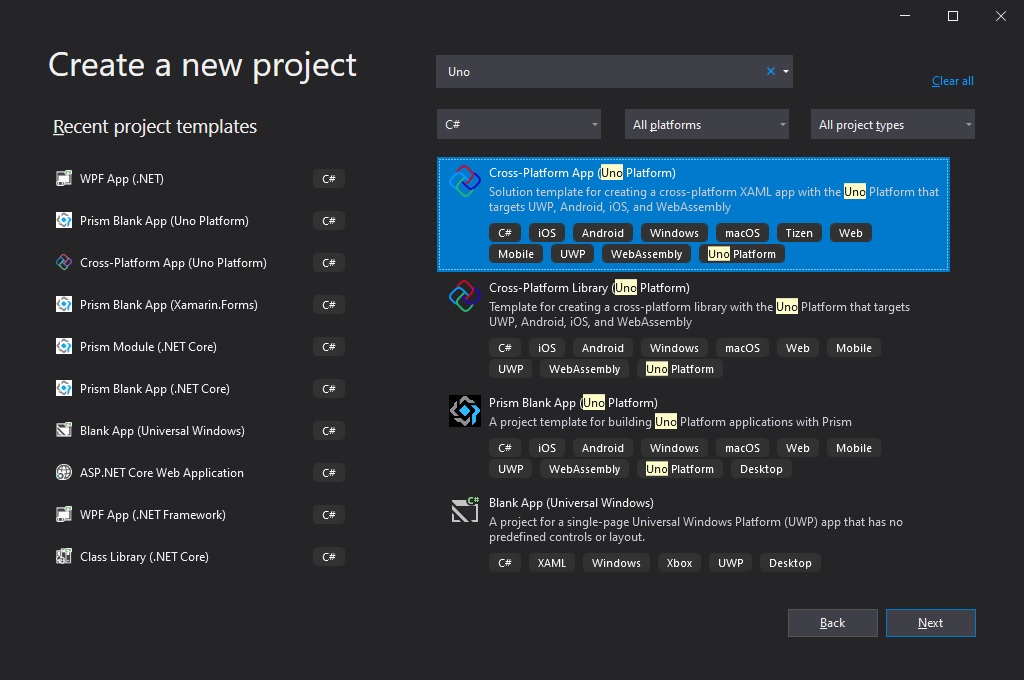
1 – Create a New Project and select the “Cross-Platform App (Uno Platform)” project template and click Next.
2 – Provide a project name and description, and click Create.
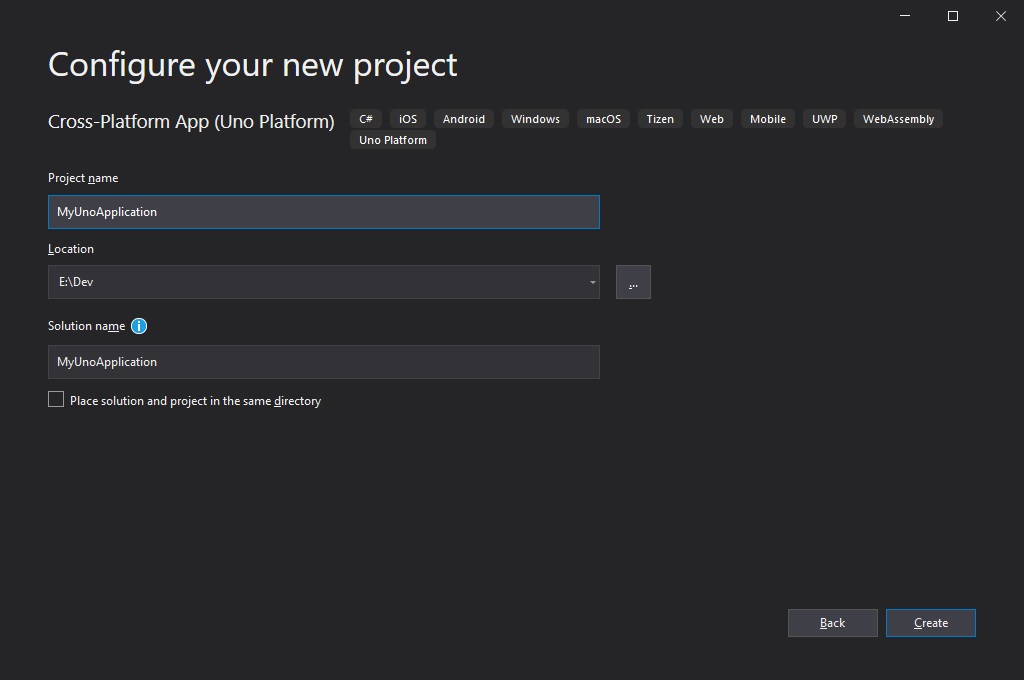
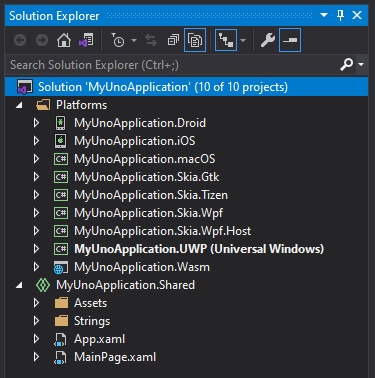
You should now have a new Uno Platform project with several projects that target specific platforms such Android, iOS, macOS, and more in addition to a Shared project that will contain your application code.
Step 3 – Install Infragistics Ultimate UI for Uno Platform
Now that we have a new Uno Platform project, it’s time to install the Infragistics Ultimate UI for Uno Platform.
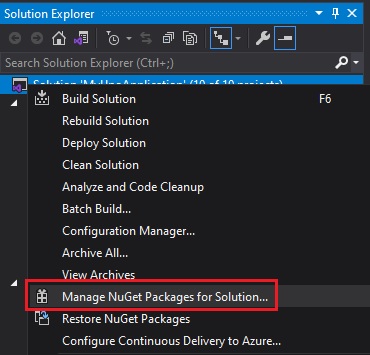
1 – Right click the solution, or project, and select Manage Nuget Packages for Solution.
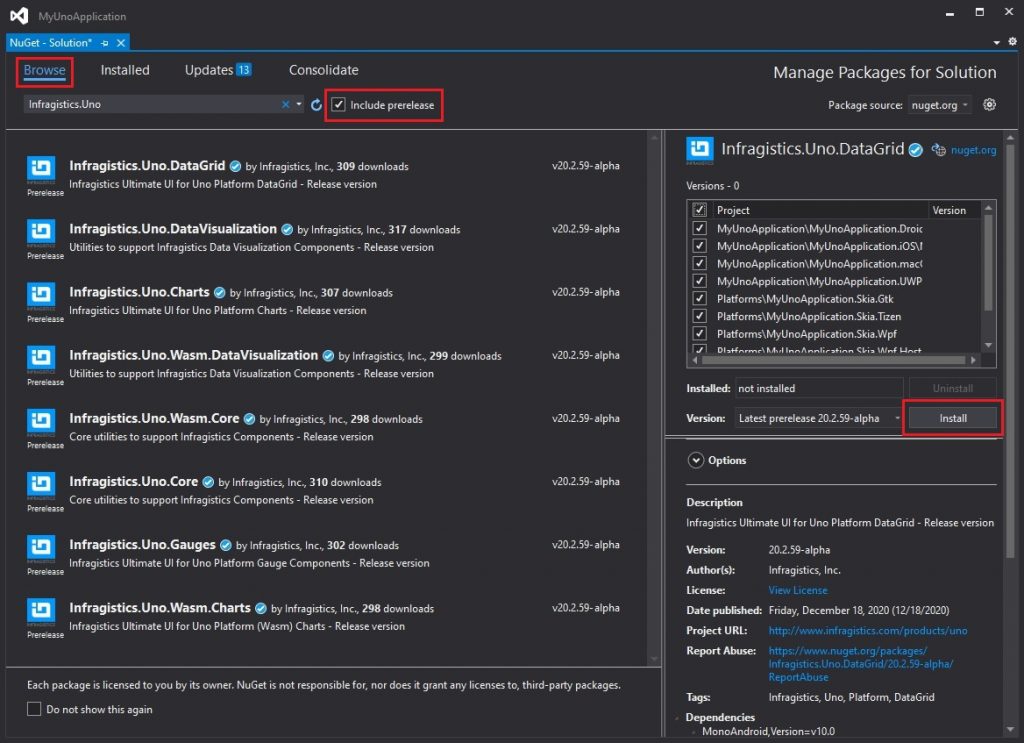
2 – In the package manager dialog, select the Browse tab and search for the Infragistics.Uno packages. Since the Ultimate UI for Uno Platform is currently in preview, make sure you select the Include prerelease option. In this example, I will be installing the Infragistics.Uno.DataGrid package. However, you can choose which ever package you like.
Step 4 – Add Uno Platform Data Grid
Now that we have the Infragistics.Uno.DataGrid nuget package installed, we can define a data grid in our application.
1 – Let’s add the following namespace to our MainPage.xaml:
xmlns:igGrids="using:Infragistics.Controls.Grids"2 – Define the Uno Platform Data Grid in your XAML markup in the MainPage.xaml:
<igGrids:XamDataGrid x:Name="_grid" />3 – Lastly, let’s generate some data to populate the Uno Data Grid with. Open the MainPage.xaml.cs file and add the following code:
public sealed partial class MainPage : Page
{
    public MainPage()
    {
        this.InitializeComponent();
        _grid.ItemsSource = new ObservableCollection<Person>(GetPeople());
    }

    IEnumerable<Person> GetPeople()
    {
        for (int x = 0; x < 100; x++)
        {
            yield return new Person()
            {
                Name = $"Name {x}",
                Age = x,
                BirthDate = DateTime.Now
            };
        }
    }

    class Person
    {
        public string Name { get; set; }
        public int Age { get; set; }
        public DateTime BirthDate { get; set; }
    }
}
Step 5 – Run The application
The last step is probably the easiest. Choose a platform and run the application. I am running on a Windows machine, so I will run the application on UWP and on my Android device.


Summary
As you can see, getting started with the new Infragistics Ultimate UI for Uno Platform controls is pretty straight forward. Keep in mind, current the Ultimate UI for Uno is in PREVIEW. This means that not everything will work like you expect and there will be tons of broken stuff. However, now is the perfect time to start playing with all these great new controls and helping the Infragistics teams find all the issues.
For more information on what is included in the Infragistics Ultimate UI for Uno Platform, check out this blog post.
You can follow and contact me directly on Twitter at @brianlagunas. You can also subscribe to my YouTube channel to be notified of new videos, and follow me on Twitch to watch me stream live.