Microsoft’s new ASP.NET Blazor framework has been getting a ton of buzz recently, and rightfully so. Imagine .NET running in the browser. No plugins, no add-ons, no transpilation magic. I can write all my code using HTML and C#. That’s right, I said C#! That means I don’t ever have to write JavaScript again! It’s every .NET developers dream.
Well, let’s be honest here. Blazor is a brand new web technology that is missing a lot of features and capabilities that the more mature web frameworks have. Blazor also relies on NuGet for all it’s goodies. Unfortunately, there aren’t a ton of goodies on NuGet that are meant specifically for Blazor.
However, npm has a ton of goodies for web development. In fact, all the other popular web frameworks rely on npm for their development workflows. So the question becomes, “How can I take advantage of all the mature web libraries, frameworks, and components that are available on npm in my Blazor applications?”.
Well, it’s easy and it can be done in just 4 easy steps.
Step 1 – Create the Blazor Application
The first step we have to take is to create our Blazor application. You can choose to do this in VS Code or Visual Studio. I am going to use Visual Studio to create my Blazor application.
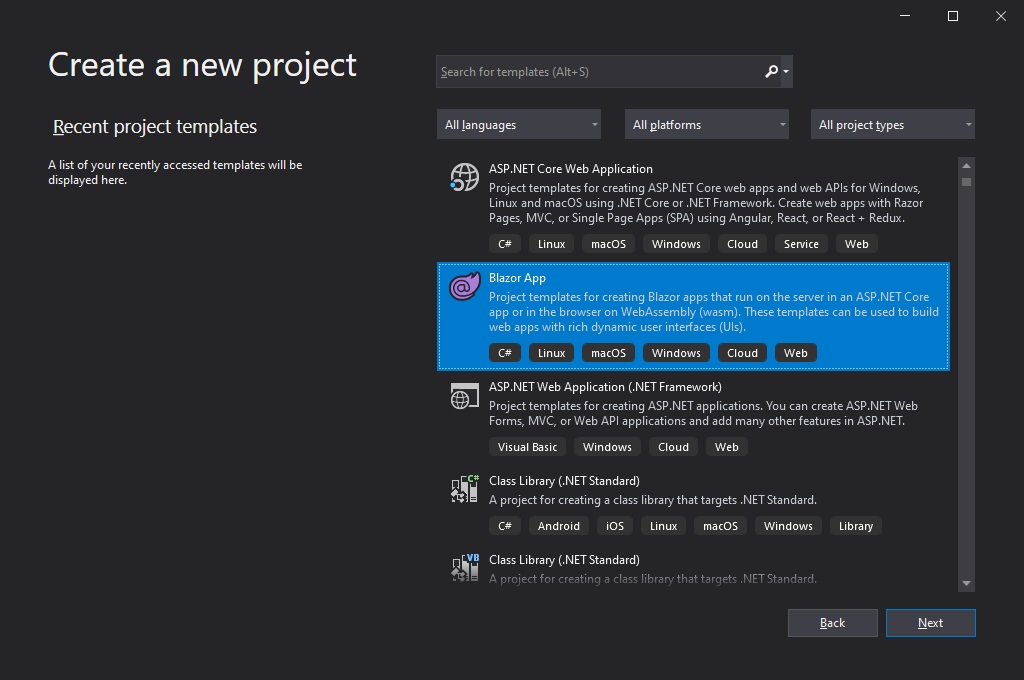
Start Visual Studio 2019 and click Create a new project on the start page, select the Blazor App template, and click Next.
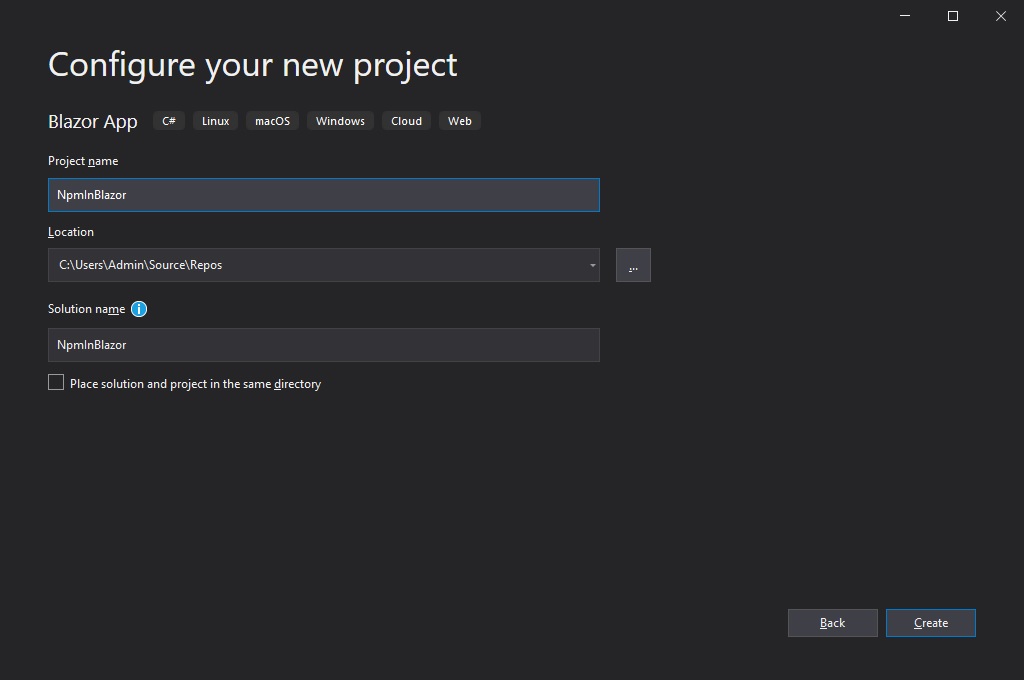
Provide a project name and description, and click Create.
Choose which Blazor template you’d like to use. Server or Web Assembly (WASM). In this example, I will be creating a Blazor Web Assembly application.

Step 2 – Initialize NPM in your Blazor App
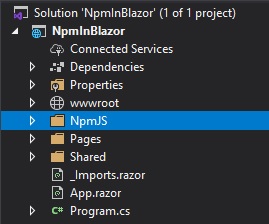
Next, we have to initialize our Blazor application with npm. Let’s start by adding a new folder named NpmJS to our project.
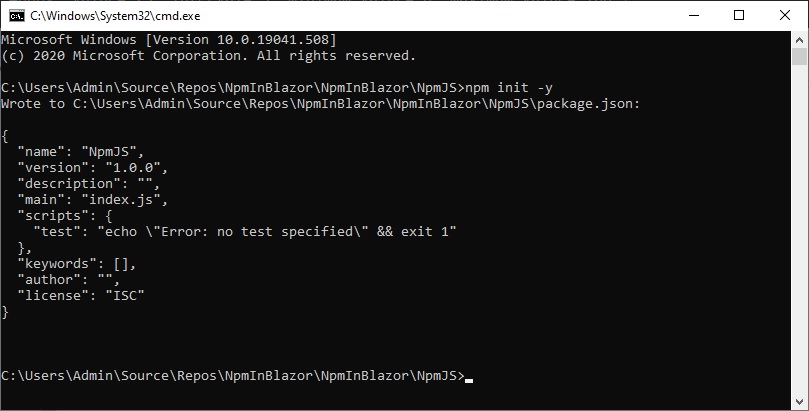
Open a command in the NpmJS directory and initialize npm by running the following command:
> npm init -yThis will create a new package.json file in the NpmJS directory and initialize it with default settings.
Next, we need to install a JavaScript bundler. In this example, I will be using webpack. Install webpack and the webpack CLI as development dependencies by running the following command:
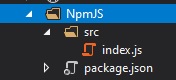
> npm install webpack webpack-cli --save-devNext, we need to add a new folder called src, and then create a new JavaScript file named index.js under the src folder. Your structure should look something like this:
The last step to setup NPM in our Blazor application is to add an npm build script that will use webpack to bundle our JavaScript file. Modify the scripts section of the package.json file to add the following build script.
"scripts": {
    "build": "webpack ./src/index.js --output-path ../wwwroot/js --output-filename index.bundle.js"
  },
This build script tells webpack to use the index.js file we created in the src folder as the source file. Then it sets the output directory of the bundled file to be placed in a folder called js under the wwwroot directory of our application. Finally, we are setting the name of the bundled JavaScript file to index.bundle.js.
Step 3 – Install NPM Packages in Blazor
Now that our Blazor application is setup properly to use npm, we need to choose which npm packages we want to use. There are so many great npm packages to choose from, but in this example, I am going to choose the Radial Gauge Web Component from Infragistics.
To install the Infragistics Radial Gauge web component using npm, open your command line in the NpmJS directory and run the following command:
> npm install igniteui-webcomponents-core igniteui-webcomponents-gaugesNow, open the index.js file and add the following code to initialize the radial gauge.
// Module Manager for registering the modules of the chart
import { ModuleManager } from 'igniteui-webcomponents-core';
// Bullet Graph Module
import { IgcRadialGaugeCoreModule  } from 'igniteui-webcomponents-gauges';
import { IgcRadialGaugeModule } from 'igniteui-webcomponents-gauges';

// register the modules
ModuleManager.register(
    IgcRadialGaugeCoreModule,
    IgcRadialGaugeModule
);
Next, open the Index.razor file and define the igc-radial-gauge web component in your markup as follows:
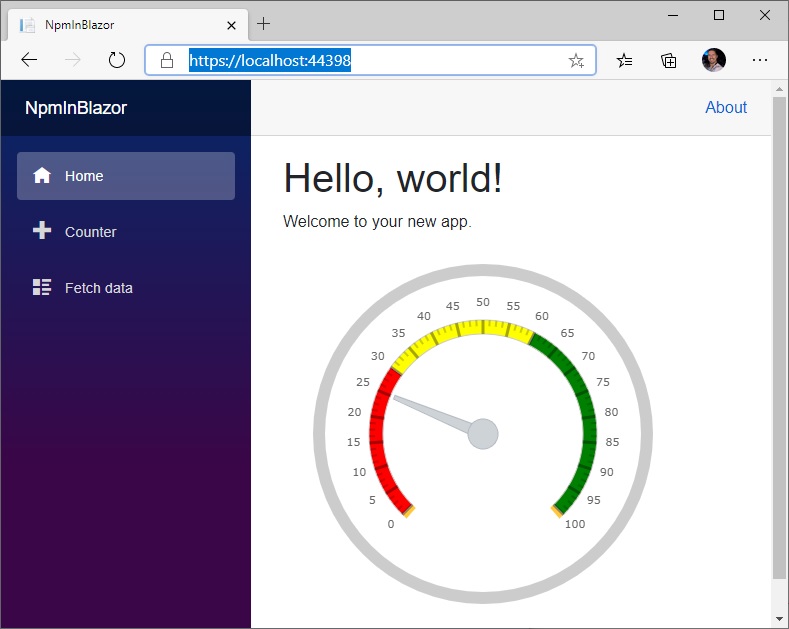
<igc-radial-gauge id="rg" height="400px" width="400px" value="25" interval="5" minimum-value="0" maximum-value="100">
    <igc-radial-gauge-range start-value="0" end-value="30" brush="red"></igc-radial-gauge-range>
    <igc-radial-gauge-range start-value="30" end-value="60" brush="yellow"></igc-radial-gauge-range>
    <igc-radial-gauge-range start-value="60" end-value="100" brush="green"></igc-radial-gauge-range>
</igc-radial-gauge>
Step 4 – Build, Update, and Run
We’re almost there. Next, let’s run the npm build script we created earlier. There are two ways to run this script.
1. Open your command line in the NpmJS directory and run the following command:
> npm run build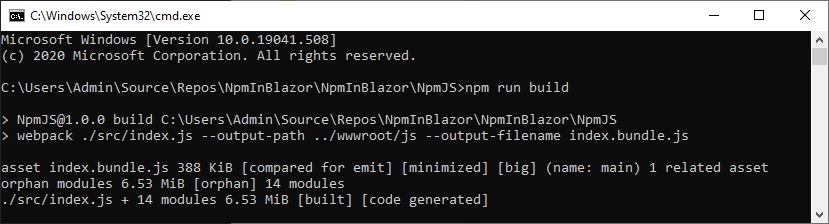
2. Modify the csproj to add a pre-build step that will run our npm build script
  <Target Name="PreBuild" BeforeTargets="PreBuildEvent">
    <Exec Command="npm install" WorkingDirectory="NpmJS" />
    <Exec Command="npm run build" WorkingDirectory="NpmJS" />
  </Target>
This pre-build step will be invoked anytime we perform a build or debug the application (F5). It will run npm install first, which ensures all our npm packages are installed, and then it will run our npm build script.
No matter which option you choose (1 or 2) to run the npm build script, the script will package and bundle our index.js file and copy it to the wwwroot/js directory with the name index.bundle.js.
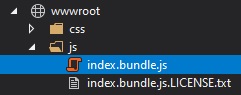
After the npm build script has been run and the index.bundle.js file has been generated, we need to update the wwwroot/index.html file to include our newly generated index.bundle.js file just after the blazor.webassembly.js file.
<script src="js/index.bundle.js"></script>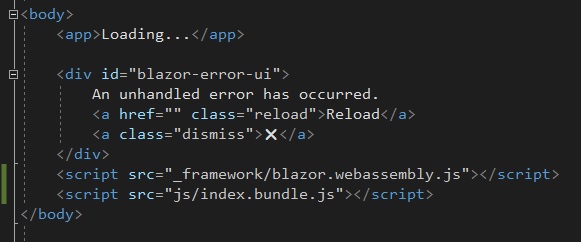
Now, run your Blazor application and and watch the magic happen!
Bonus – Interacting with the Radial Gauge
As you can see, adding and consuming npm packages in Blazor is pretty easy. However, what if you want to start interacting with components or functions in the npm packages you are using in your Blazor application? For example, what if I wanted to add a button to our application that would allow me to update the value of the Infragistics Radial Gauge Web Component?
In order to accomplish that task, we need to use a feature of Blazor called JS Interop. We need to write the code that interacts with the Radial Gauge in JavaScript, and the use JS Interop to call those methods we defined in JavaScript.
Lets start by opening our index.js file and add a JavaScript function that will allow us to update the value of the Radial Gauge at runtime.
window.updateValue = function (value) {
    var rg = document.getElementById("rg");
    rg.value = value;
}
As you can see, we are defining our JavaScript function named updateValue on the window object, because Blazor requires our functions be defined on the window in order to access them in Blazor. The updateValue function gets the igc-radial-gauge component by using its id, and then sets the value of the radial gauge to the value parameter.
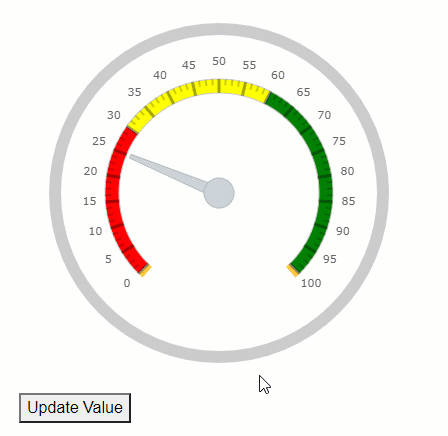
Next, let’s modify the Index.razor to add a button, that when clicked will invoke our JavaScript function and update the value.
<button @onclick="OnClick">Update Value</button>

@code {

    void OnClick()
    {

    }
}
Finally, we need to actually invoke our JavaScript function using Blazor’s IJSRuntime. First we need to inject the IJSRuntime into our Index.razor. Add the following code to the top of your page:
@inject IJSRuntime JSRuntime;Next, add the following code to the Button’s OnClick method:
async void OnClick()
{
    await JSRuntime.InvokeVoidAsync("updateValue", 60);
}
This code uses the IJSRuntime to invoke our JavaScript function named updateValue and passes the value of 60 as a parameter to the function.
Run the application (don’t forget to run the npm build script first), and observe the magic that is Blazor JS Interop.
Having trouble getting it to work? Check out the code on GitHub